


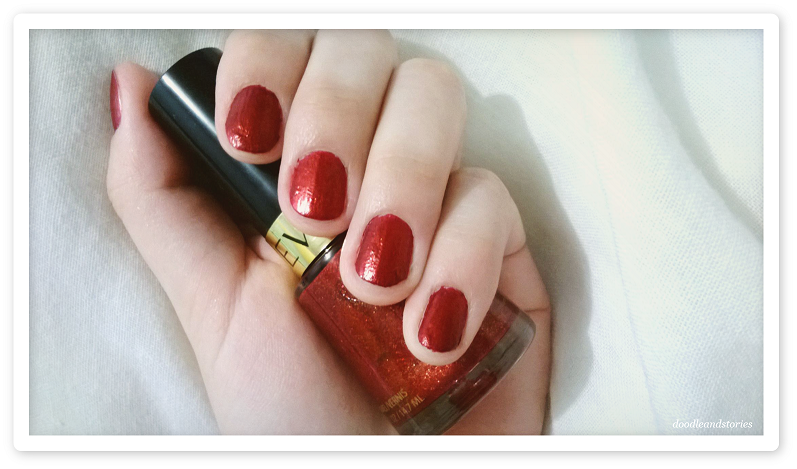
A comparison of after (top) and before (bottom) there. :)
Not such a long time ago, I was wondering how sometimes people achieve that 'vintage' looking photo look. You know, the one which make us seem to live in a world where shadows are either pink, or blue, or yellow, and our midtones can be sephia. I think most of them are the Instagram effect, but since I don't have any Instagram account (living happily under some purple rock :D), and most of my photos are taken without any effects, I was thinking of some other way to achieve some similar look. Well, definitely NOT the same, but kind of, vaguely. :P
As the saying goes, 'all roads lead to Rome'. :P Well, maybe not really for this, but should anything calls for it, hopefully this might work for an alternative.
So in the very simplified version in my mind, it's basically broken down into 3 steps; contrast, shadows, and gradient map.
Here's how to use Ms. PowerPoint 2010, for a very very simple photo editing, should we ever need any. :)
- 'Insert' tab --> 'Picture'

- Right click in the image --> 'Format Picture...' --> then select 'Picture Corrections' and add the brightness and contrast there, adjust as you like, say +5% and +21% respectively for mine.


- Then select 'Shadow' and add inner shadow as shown here. Adjust the 'Transparency' to say 90%, and the 'Blur' to 100pt.


- Create a new box on top of the picture. 'Insert' tab --> 'Shapes', then add a plain regular rectangle exactly on top of the picture by dragging the mouse diagonally.


- Adjust the fill for that rectangle, right click 'Format Object...' --> 'Fill' --> 'Gradient Fill' --> I'm using preset colour here, the one highlighted with the 'Direction' highlighted --> adjust the 'Transparency' of each point, say to 80%, then, ... that can be all really! :)

- But if you want to, play with the border. I'm adding some 'frame' here, 'Format Object...' --> 'Solid Line', in white. Step 12 is missing because I didn't realise it was missing, sorry. :P So step 13, adjust the 'Width', say to 15 pt.


- Then adjust the shadow for it, 'Shadow' --> 'Outer', with 75% 'Transparency' and say 15pt 'Blur'.

- Select all then group. Then right click and 'Save as Picture', choose .png, for example.

That... actually seems more complicated than I intended, haha, but oh well.
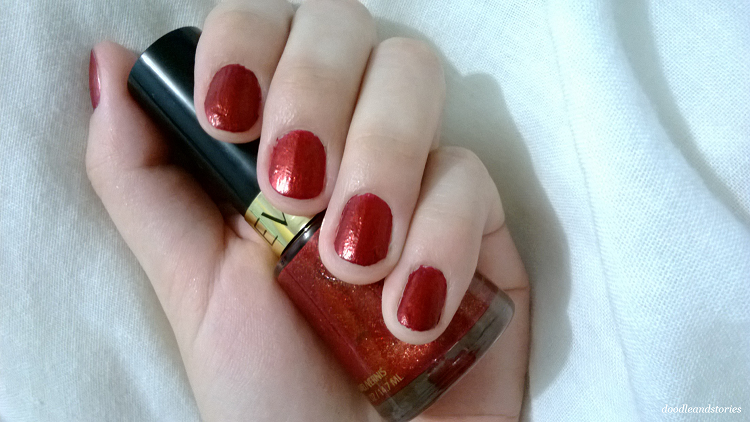
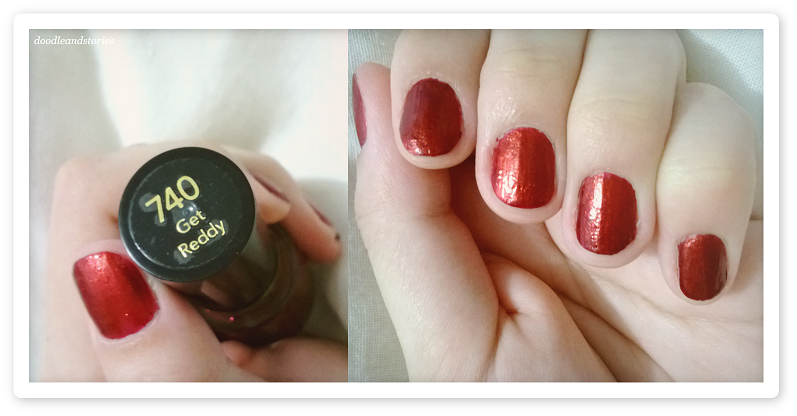
Here are some more edited pictures of my nails last festive season, --which might not be the best thing to adjust any colour to show some nail polish swatch :S, also don't worry about the uneven surface, I often fall asleep waiting for it to dry, so cotton or bedside-table-end patterns are pretty common on my nails, anyhow, just for another example. :P
Yay!
Even thoughhh, if you want something FREE but a little more specific, and more options, you might want to try GIMP. It basically feels like some earlier version of Adobe Photoshop, so it feels quite familiar and intuitive too! :) Pretty good tool, if you ask me. Let me clarify though, it is GIMP, not Gimp, or gimp, so here, let me direct you to the correct one before you find some other rather interesting references. The link to their website where you can download the tool is on the very bottom line of the right information slash general description box.
Have fun!
 | ||
 |  |  |
Of course! Just followed you on Bloglovin, waiting for you now! I am developing my Facebook page now and I will be so happy if you support me with a like there! If you want any support from me I am here, just let me know! :)
ReplyDeleteMy Blog: http://renetakanevska.blogspot.co.uk
Bloglovin: http://www.bloglovin.com/blog/7081543/?claim=jfjwc4zvgyu
My Facebook Page: http://www.facebook.com/rkanevska
I followed you back! Thank you. :)) Oh, no! :( I'm so sorry, I don't have any Facebook account, should I make one, I will definitely definitely make sure to like your page! Thank you so much, just let me know too! :)
Deletexo,
Emm
That is so cool! I didn't know that. Will definitely try it! Thanks!
ReplyDeletehttp://www.averysweetblog.com/
Anytime, Kim! :) Thanks, let me know if you try it!
Deletexo,
Emm